
It ALL started out as a whim purchase:
We love to visit the local estate sales, we get amazing finds like this mirror at great prices. This piece was a whopping $10. We had a horrendous wall to wall piece of glass in a small half bathroom that I was not fond of and thought this would be an easy update to a bathroom I had no intention of redoing. We had just finished a large redecorating project on our master bathroom, and had just begun our upstairs bath by placing shiplap on the vanity wall. Taking down the wall paper, texturing and painting the walls, upgrading fixtures and installing chair rail had taken over 6 months in our master bathroom and I wanted a break.
 The half bathroom is just 39 inches wide, not much more than a short hallway with no exit on either end. I didn't hate the wall paper, or the décor, it was okay and I could live with it, it was pretty but not too tacky! What we didn't know would be the adventure beginning with the removal of the old mirror; AND discovering......the most horrifying fear of every homeowner: BLACK MOLD! So now the room I had no plans to do anything with would become the biggest remodel in our house to date. We were beginning to wonder if we would ever get the house finished. Deep Breath and S I G H! First step was to remove the infected wall board and determine where the mold was coming from, how far it had spread and what damage we were looking at. I kept telling my husband, after we are done, we will realize a $10 mirror may have saved our lives.
At this point I need to add a little back ground. Our home was built in 1998, so at 20 years old it was fairly new, there were no major structural issues when we moved in. It is a story and a half with the upstairs bathroom right above the half bath. The people who we bought the home from were older, and we think they did not use the upstairs very much so the upstairs bathroom was pretty much unused. I think you can guess where this is going. We moved in with a family of 3 adults. Our daughter has her room upstairs and the upstairs bath became hers, which began to be used all the time. What started out as a minor issue before we moved in had in a few years matured into a disaster.

 The waste line for the upstairs toilet ran right behind the wall in our half bath, and the PVC had been punctured in multiple places by negligent construction workers during the building of the house. The nails you see were left in place and were a minor contributor, but we also found actual holes that were leaking with each flush where the mirror we removed had been attached to the wall. The builders had not cared where the waste line was when putting up the mirror and drilled into the PVC for the mirror brackets. Both top and bottom. We patched the holes and made sure there were no more leaks. Once we felt confident the damage had been stopped, we had to find out how much we were going to have to do the repair the room. This lead to the project going to a nearly complete gutting of the room and remodel; new vanity, new faucet, new sink, new wall, new floor.
 The old vanity proved to be quite the quest to get out. The original plan was to rescue and reuse the vanity, so we attempted to carefully remove it in one piece. After a lot of struggle and some discussion we decided that it would not come out in a single piece, so out came the sledgehammer. It proved to be very easy to remove in multiple pieces, however, that would mean we couldn't reuse it. Once we got it out, we found the black mold had infected the vanity as well, making it completely unusable and off to the landfill it went in pieces along with the huge wall mirror. 

In the meantime a concept needed to be devised for the new décor. We couldn't keep the current wallpaper because the removal of the old moldy vanity had pulled a lot of it off the wall (plus the builder had not wall papered behind it). Now where does one start going from a fully decorated room to newly blank slate with a new décor idea needed. I came up with a few ideas but nothing really set the torch ablaze. Until my daughter pointed to the Texas flag and said "could you use that as inspiration?" From that point on the project became a labor of love. YES, red, white and blue! I could jump on board and run with this inspiration!
 The quest for the replacement vanity was something I was actually looking forward to. After spending lots of time on-line getting ideas from Pinterest and trying to find what I saw there on the big box stores websites; I still couldn't find anything I really liked. The big box stores vanities were all cheaply made and overpriced. After watching for many years lots (and I mean lots) of DIY shows in which a piece of furniture was converted to a vanity; I thought this would be a project I could get excited about, and bonus, our bathroom would be unique. We found the piece of furniture I was looking for after only a couple of antique markets. I don't know if I was happy to have found the perfect vanity on the first day or if it would have been more exciting to have spent more time looking before I found the piece. The shop owner didn't even have a price marked on it, we assume she never intended to sell the dry sink, so we got it for a steal after making her an offer. It was not the correct color though, being a sage green and I wanted something different (red, white or blue). The dry sink needed to be cleaned, sanded, primed, painted and varnished. This little dry sink needed to undergo a major transformation.
With the whole wall removed, we had another issue to deal with before we could install the new vanity.


At the same time the tiling and vanity colors and concepts kept floating around my head, My husband was trying to figure out the wall board and the mudding and taping and how to prevent anyone from ever putting holes into the repaired PVC drain. AND he kept saying I was trying to figure out things way ahead of him. I think I spent as much time trying to make the picture in my head a reality, than it took to do the actual work. I would try to explain the concept to my husband, he still couldn't visualize the finished project; during the project in the master bath, he had learned to trust that I could make it great, so he did the work, while I sweated the details.
 After we got the wall board up, he mudded and taped and put up a new light fixture. Then the old wallpaper had to come down. I figured out a pretty smooth technique, it was time consuming, but pretty thorough. I would get an edge or a corner free from the wall and with my fingers pull strips of wall paper down, sometime they were long and large strips, and many times they would be little tiny bits. This method of course left up a lot of wall paper paste, as the paper itself became separated from the paste. We came in after all the wallpaper was down and used water to moisten the paste and pull it down, usually within a matter of minutes a whole wall would be clear, right down to the wall board. There was nothing under the wall paper except the original wall board. If you look at the original mold picture you can see the builders didn't even paper behind the mirror. Then came texture and primer. We primed and painted the whole room white before adding the other colors.
So now we are back to the Texas flag. The concept took many different profiles before I ended up with the final concept. We would tile behind the vanity with white 6 inch tiles, and create a border in red 2 X 6 inch tiles, basically creating an alcove affect. This technique filled the empty space left by the missing tile and created a nice back drop for the vanity, which was painted a beautiful blue. The whole concept could have been wrapped up on the one side of the room. with the tile being white and red and the vanity being blue, I really didn't need to go any further. But OH YES I DID go further.


From a plain white wall emerged the Texas Star. 

Seeing the completed image of the back wall made the whole project look like it would be coming together just as I had foreseen. And then the holidays happened, and the project got put on hold for a L O N G time. It wouldn't be until February that we could get back to it. And this would prove to be the most difficult and time consuming part. The cutting of the vanity and the installation of the plumbing. I know what you are thinking, tiling was probably not that simple, designing the star and putting in a new light fixture are not easy projects. I had confidence in my capabilities to do those projects, but I was dreading the cutting of the cabinet. I could see how to do it in my head, but the actual measuring and cutting were a little daunting.
Remember in the beginning I told you we loved to go to estate sales. We were blessed with a lot of other great finds that we needed to do this project for amazing prices. We found a tile saw for $10, we got a table saw for $20, we got a reciprocating saw for $15, and a jigsaw for $8; and we used every single one of them for this bathroom remodel. We could no longer ignore the dryer vent crossing the room. Due to its location, it had to go through the cabinet, there is simply no other place to put the pipe. We couldn't redirect it without making major changes. The dry sink was meant to be a stand alone piece of furniture, and now we had to cut out a big part of the support structure. 
The PVC pipe would not fit under the bottom shelf, and the water pipes and drain pipe were going to have to go through the middle shelf. Not to mention cutting out the back of the cabinet so it could sit up against the wall and allow the plumbing to be on the interior. Even though we followed the old adage, measure twice and cut once, we still made some minor measurement errors and had to take the piece in and out to fit and then cut more and then fit and cut more. All in all the adjustments that needed to be made were pretty minor as you can see in this picture. My husband got a lot of exercise, and had some pretty sore muscles the next few days. But after dozens of trips in with the cabinet and out again to shave off another inch or so, we got it against the wall.

The PVC pipe would not fit under the bottom shelf, and the water pipes and drain pipe were going to have to go through the middle shelf. Not to mention cutting out the back of the cabinet so it could sit up against the wall and allow the plumbing to be on the interior. Even though we followed the old adage, measure twice and cut once, we still made some minor measurement errors and had to take the piece in and out to fit and then cut more and then fit and cut more. All in all the adjustments that needed to be made were pretty minor as you can see in this picture. My husband got a lot of exercise, and had some pretty sore muscles the next few days. But after dozens of trips in with the cabinet and out again to shave off another inch or so, we got it against the wall.

We used the wood that we removed from the cabinet to accommodate the dryer vent to make a shelf to create a chase for it through the back of the cabinet. My husband was so excited to finally hook up the plumbing. We did have to call in a plumber to make the drain connection water tight, but you can see here how it all came together inside the cabinet without losing a lot of the structure that makes the cabinet sound. And the vanity is REAL wood, not that fiberboard MDF that the big box store vanities were all made from. This will be around for a long time. They just don't make stuff like they used to, we got our bathroom upgraded and it cost us about a third of the cost of the cheapest new model we were looking at.
 We still had to finish the project. Getting the bathroom in working order was the first step, but now we had to make sure it looked nice and would disincentivize anyone from putting holes into the PVC drain ever again, even assuming they had no idea where it was in regards to the wall. A coworker asked if we had put up a metal plate behind the wall to prevent that in the future, but we were not aware of such a product until after we had the wall back up. It was not worth tearing it down again. So I placed shelves up against the wall to make it less likely of a repeat of the original mistake that led to the nightmare we found. I was originally going to put a towel rack on the side of the vanity, but got one that was too big, so I ended up attaching the towel rack to the bottom of a shelf. I think it put the towels in a lot more accessible location for use.
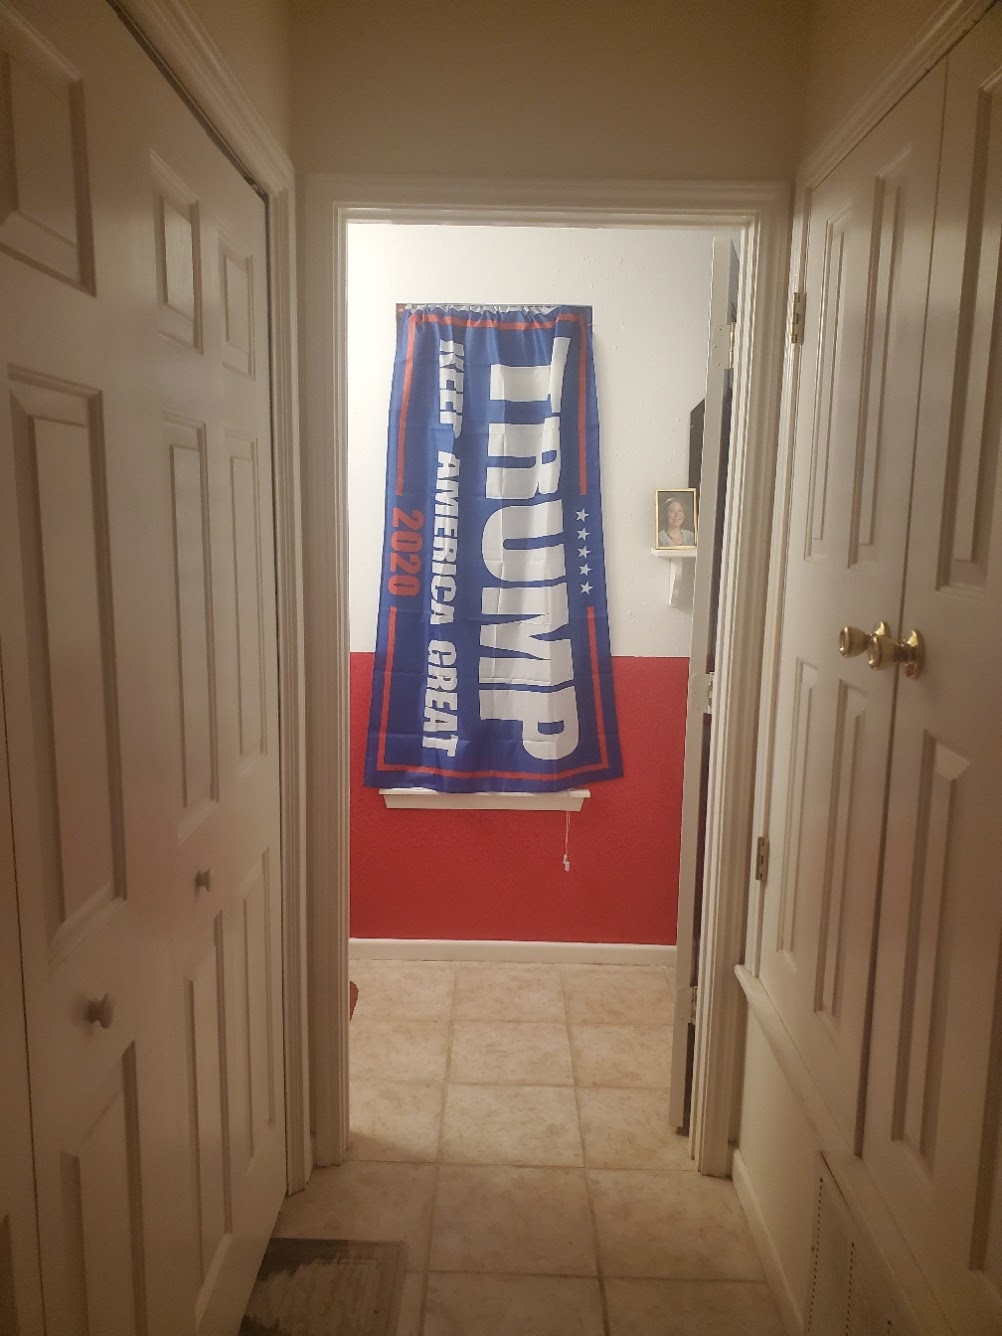 The best part is: final touch can be seen from the front door.
No comments:
Post a Comment